others-Learn vue.js with me tutorial 2 - setup your first vue.js project and print 'hello world'
1. Purpose
In the priveous post, we have introduced why we choose vue.js instead of angular.js or react.js, and we also showed what is vue.js and how to learn vue.js, now in this post, I would demo how to setup our first ‘hello world’ project in vue.js.
2. Vue.js project setup steps
2.1 node.js
The front-end development framework and environment both require Node.js. Install the node.js development environment first. The operation of vue depends on the npm management tool of node.
Node. js is a platform built on Chrome’s JavaScript runtime for easily building fast and scalable network applications. Node. js uses an event-driven, non-blocking I/O model that makes it lightweight and efficient, perfect for data-intensive real-time applications that run across distributed devices.
You can download node.js from its official website.
Verify the node.js is working on your machine:
➜  ~ node -v
v12.14.0
2.2 npm
npm is a package manager for the JavaScript programming language. npm, Inc. is a subsidiary of GitHub, that provides hosting for software development and version control with the usage of Git. npm is the default package manager for the JavaScript runtime environment Node.js.
If you are familiar with java, then npm is just like ‘maven’ or ‘gradle’.
You can navigate to this site to get npm installed on your machine. Actually npm is distributed with Node.js- which means that when you download Node.js, you automatically get npm installed on your computer.
Verify the npm is installed on your machine:
$ npm -v
6.13.4
2.3 Webpack
webpack is an open-source JavaScript module bundler. It is made primarily for JavaScript, but it can transform front-end assets such as HTML, CSS, and images if the corresponding loaders are included. webpack takes modules with dependencies and generates static assets representing those modules.
webpack is a modular packaging tool, when using vue-cli to initialize the project, we choose webpack as our module packaging tool.
Verify webpack is installed on your machine:
➜  ~ sudo npm install --save-dev webpack -g
/usr/local/bin/webpack -> /usr/local/lib/node_modules/webpack/bin/webpack.js
+ [email protected]
added 74 packages from 121 contributors in 2.93s
- -g means install the module globally, not just in the current working directory, so every project in your machine can use this library
- –save-dev means you only use it to bundle your package , but it would not be included in your production package
If you’re using webpack v4 or later, you’ll also need to install the CLI.
➜  ~ sudo npm install -g webpack-cli
/usr/local/bin/webpack-cli -> /usr/local/lib/node_modules/webpack-cli/bin/cli.js
npm WARN [email protected] requires a peer of [email protected] || 5.x.x but none is installed. You must install peer dependencies yourself.
npm WARN @webpack-cli/[email protected] requires a peer of [email protected] || 5.x.x but none is installed. You must install peer dependencies yourself.

+ [email protected]
updated 1 package in 1.541s
Verify webpack is installed properly:
➜  ~ webpack -v
webpack 5.28.0
webpack-cli 4.5.0
2.4 vue-cli
vue-cli is a simple CLI for scaffolding Vue.js projects.
The CLI ( @vue/cli ) is a globally installed npm package and provides the vue command in your terminal. It provides the ability to quickly scaffold a new project via vue create , or instantly prototype new ideas via vue serve . You can also manage your projects using a graphical user interface via vue ui
Install it using npm:
➜ ~ npm install -g vue-cli
Verify vue-cli is installed on your machine:
➜  ~ vue -V
@vue/cli 4.5.12
2.5 Init your project dir and add vue.js as dependency
2.5.1 Create project dir
First, we create a directory named vue-tutorial-2:
➜  mkdir vue-tutorial-2
➜  cd vue-tutorial-2
2.5.2 Initialize project directory with package.json
Then we can use npm init command to initialize our project directory as follows:
➜  vue-tutorial-2 npm init
This utility will walk you through creating a package.json file.
It only covers the most common items, and tries to guess sensible defaults.

See `npm help json` for definitive documentation on these fields
and exactly what they do.

Use `npm install <pkg>` afterwards to install a package and
save it as a dependency in the package.json file.

Press ^C at any time to quit.
package name: (vue-tutorial-2) vt2
version: (1.0.0)
description:
entry point: (index.js)
test command:
git repository:
keywords:
author:
license: (ISC)
About to write to /Users/bswen/js-projects/vue-tutorial-2/package.json:

{
  "name": "vt2",
  "version": "1.0.0",
  "description": "",
  "main": "index.js",
  "scripts": {
    "test": "echo \"Error: no test specified\" && exit 1"
  },
  "author": "",
  "license": "ISC"
}


Is this OK? (yes) yes
➜  vue-tutorial-2
More about npm init command:
npm init <initializer> can be used to set up a new or existing npm package. initializer in this case is an npm package named create-<initializer> , which will be installed by npx , and then have its main bin executed -- presumably creating or updating package
Now our project directory structure is as follows:
.
└── vue-tutorial-2/
    └── package.json
2.5.3 What’s inside package.json
What’s package.json file?
All npm packages contain a file, usually in the project root, called package. json - this file holds various metadata relevant to the project. This file is used to give information to npm that allows it to identify the project as well as handle the project’s dependencies
What’s inside our newly created package.json in our project?
{
  "name": "vt2",
  "version": "1.0.0",
  "description": "bswen tutorial for vue.js",
  "main": "index.js",
  "scripts": {
    "test": "echo \"Error: no test specified\" && exit 1"
  },
  "author": "bswen",
  "license": "ISC"
}
2.5.4 Add vue.js to our project
We should add vue.js as a dependency to our project as follows:
➜  vue-tutorial-2 npm install vue
npm notice created a lockfile as package-lock.json. You should commit this file.
npm WARN [email protected] No description
npm WARN [email protected] No repository field.

+ [email protected]
added 1 package from 1 contributor in 0.41s
➜  vue-tutorial-2
Now, the package.json is:
➜  vue-tutorial-2 cat package.json
{
  "name": "vt2",
  "version": "1.0.0",
  "description": "",
  "main": "index.js",
  "scripts": {
    "test": "echo \"Error: no test specified\" && exit 1"
  },
  "author": "",
  "license": "ISC",
  "dependencies": {
    "vue": "^2.6.12"
  }
}
You can see that vue is added as dependency successfully.
2.6 Setup IDE: Intellij IDEA for vue.js development
I am using Intellj IDEA , so I need to prepare it for vue.js development.
2.6.1 Install vue.js plugin for Intellij IDEA
For better development experience, there is a plugin named vue.js in Intellij IDEA, you can install it as follows:
Goto preferences of IDEA, find the plugins page, just search for ‘vue.js’ in the search box, and install it as follows:

After installation of vue.js plugin ,you should restart your Intellij IDEA.
2.7 Import the project to IDEA
Now we have created our project from scratch in the command line. But if we want to program in IDEA, we must import the existing vue.js directory to IDEA as a project.
Here are the steps:
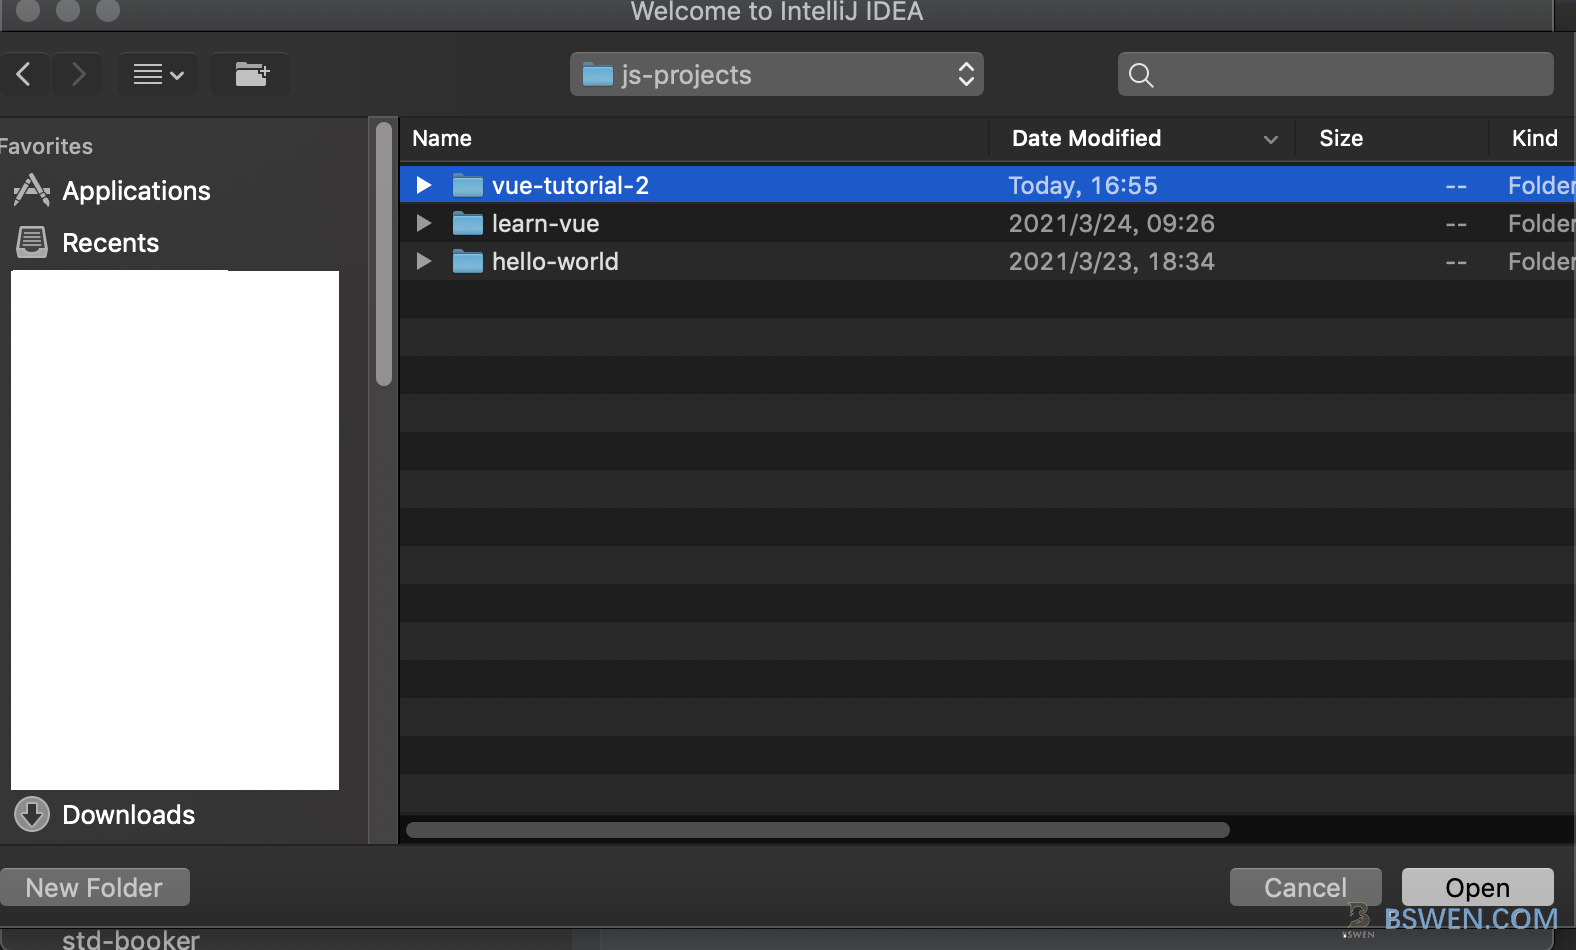
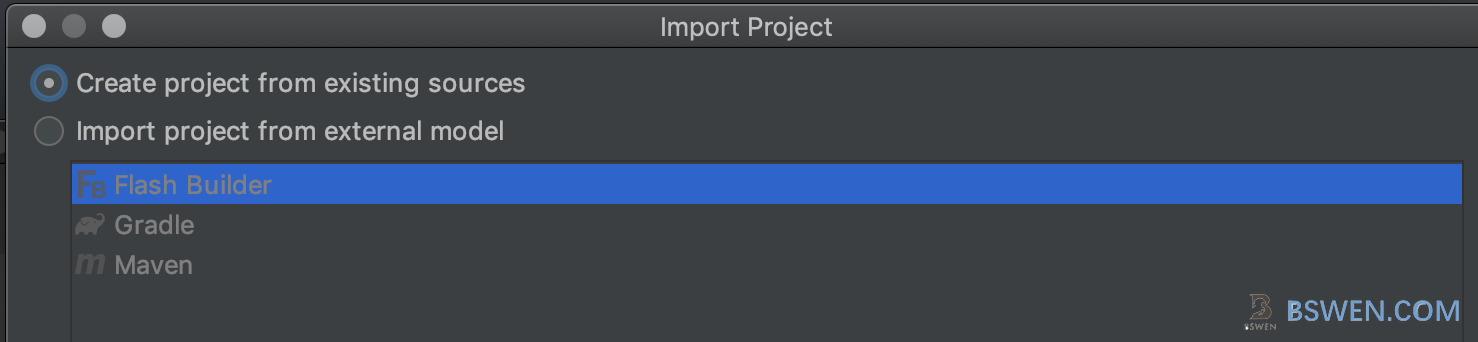
Step #1: Click File–> import project from existing sources in IDEA, and find your vue-tutorial-2 directory.
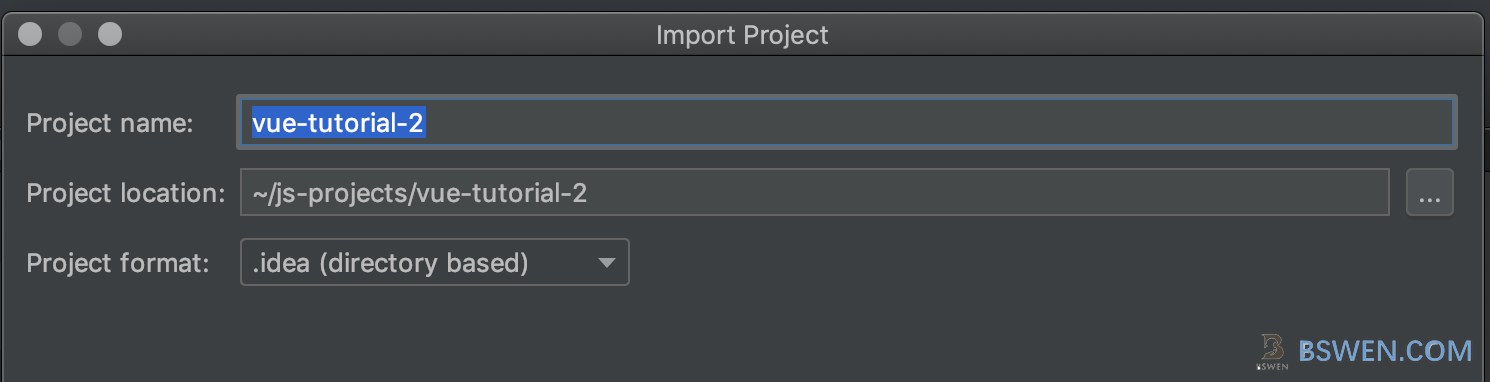
Step #2: Input the imported project’s name, and confirm the location of our vue.js project
Step #3: Confirm the imported vue.js project

3 Create ‘hello world’ vue.js application
Now , we have a ready-to-be-used project, we can continue to make our vue.js application work.
3.1 Create ‘hello world’ application of vue.js
Create a file named helloworld.html in the root of the project, here is the content of our vue.js project’s helloworld.html:
<!DOCTYPE html>
<html lang="en">
<head>
    <meta charset="UTF-8"/>
    <title>Hello World of Vue.js</title>
</head>

<body>
    <div id="app">

        <h1>{{  msg  }}</h1>

    </div>

    <script src="//cdnjs.cloudflare.com/ajax/libs/vue/2.1.6/vue.min.js"/>

    <script>
      new Vue({
        el: "#app", //line A
        data: {
          msg: "Hello World!" //line B
        }
      });
    </script>

</body>
</html>
- The line ‘’ is important, because we want to use vue.js , so we must import the script as a library of this html page
- The line ‘A’ defines a Vue object that is mounted at the html DOM element which has the specified ID: ‘app’
- The line ‘B’ defines a property that would be displayed in the <h1> tag of the html
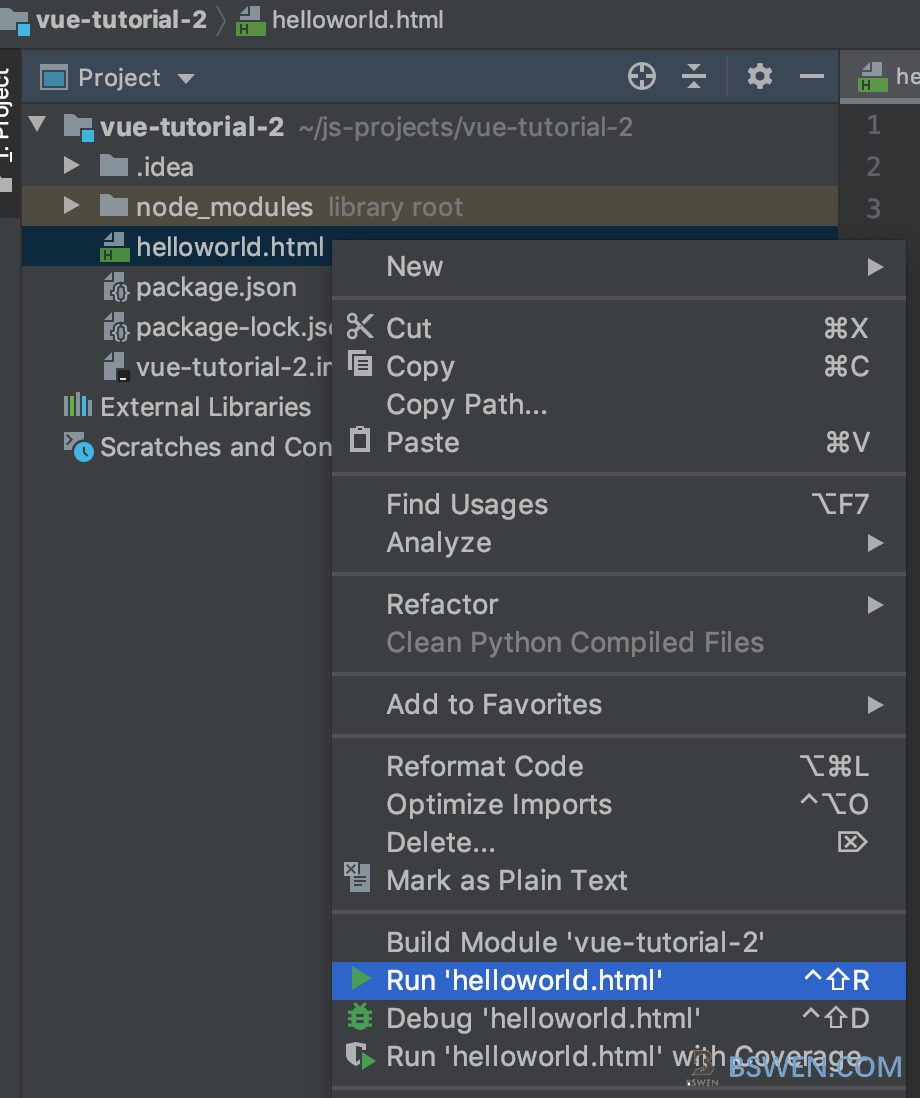
3.2 Test the vue.js app
Now we can test the vue.js hello world app by right click the context menu ‘Run Helloworld.html’, just as follows:
Then there should be a browser opened and the location of the browser is shown as follows:

It works!
3. Summary
In this post, we setup the environment for vue.js development, and created a project for vue.js, and finally we created a helloworld application in vue.js , and it works. Thanks for your reading. Regards.
Appendix
Index of vue.js tutorials for beginners:
- Learn vue.js with me tutorial 1 - introduction to vue.js learning
- Learn vue.js with me tutorial 2 - setup your first vue.js project and print ‘hello world’