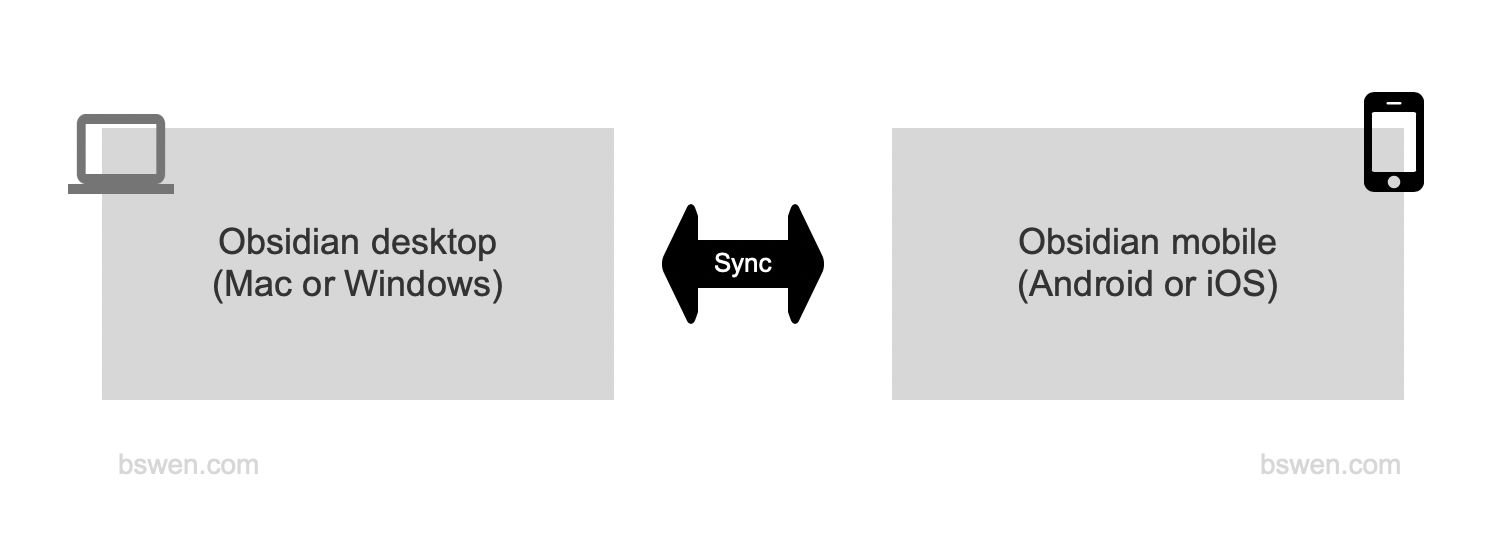
others- how to synchronize your obsidian across your android mobile phone and PC desktop?
1. Problem
I have been used obsidian for a while, and I found that it’s very difficult to synchronize my desktop obsidian with my phone(An android phone). It’s seems that obsidian is not designed to be synchronized across devices.

But I need it. What I need is as follows:
- I can edit a note in obsidian on PC and view it on my phone
- I can take photo or write some short text on my phone’s obsidian and I can view it later on my PC’s obsidian
2. Ways I have tried
After reading the official document ,which shows various synchronization methods we can use to sync data between obsidians on PC or mobile phone:
- First-party syncing: Obsidian Sync
- Third-party cloud syncing: iCloud, OneDrive, and Google Drive
- Local sync: Syncthing
- Version control: Git and Working Copy
The 1st method: Obsidian Sync
The first is not free.
The 2nd method: Cloud syncing
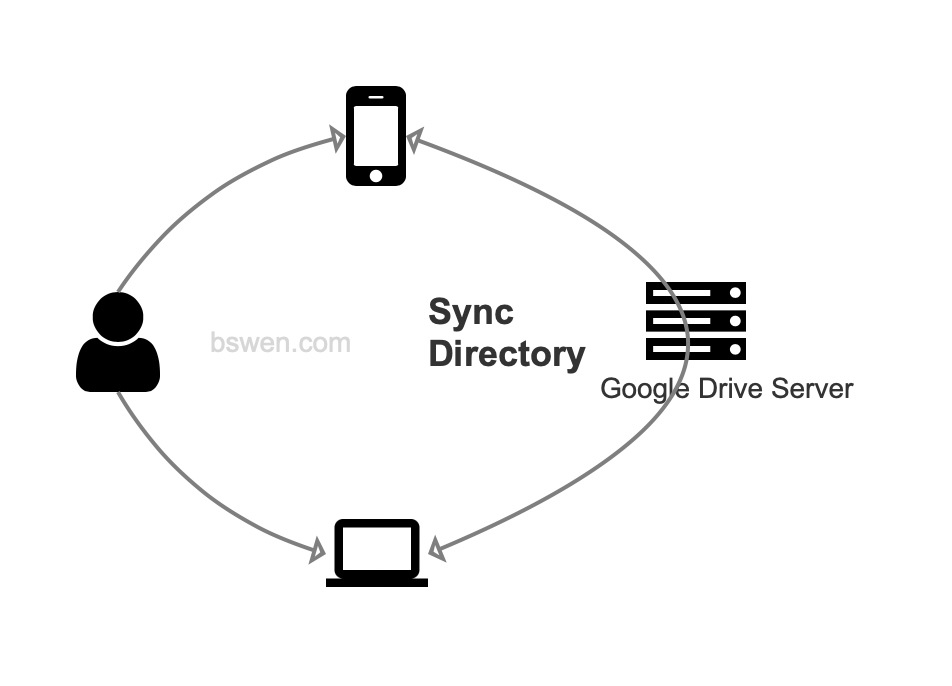
And I did have tried the second method, I chose the Google drive method, because I already has a google account. Here is the diagram shows my Google Drive synchronization between android phone and my PC:

The pros of this method are:
- It reuses my Google account and Google Drive app, no need to register a new account or setup a server for this synchronization
- It’s reliable because of Google, we trust it.
The cons of this method are:
- It’s a one-way synchronization, not two-way , e.g. You can only edit or insert post on PC, and view on mobile phone, you can not edit it on mobile phone.
- The sync unit is file level, not row level like git, so , we can only overwrite others or be overwritten by others.
The 3rd method: Syncthing
I have not tried this method.
The 4th method: Git
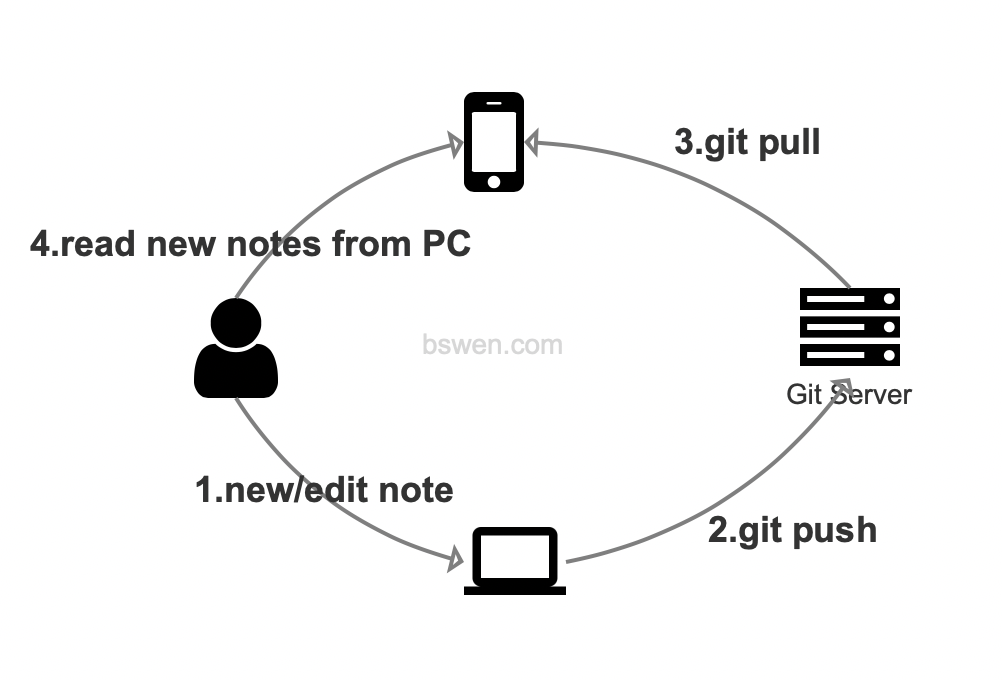
Because I have a vps server , on which I have installed a git server , I want to reuse it for this obsidian sync scenario.
3. My plan
I found an article on how to sync notes using Git, here is the link: Another Way To Sync Obsidian vaults to Android using Git, but I found some problems when trying this method, here is my plan:

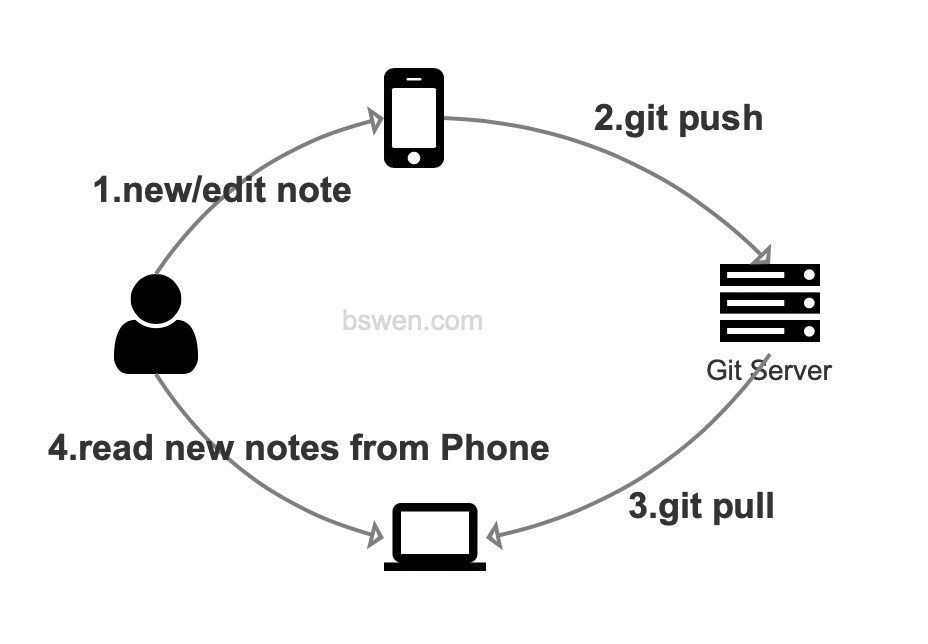
And :

4. My Steps
1) Setup a private Git server
I am using gitolite as my own private Git server, I deployed it on my own private VPS , so the data is secure.
You can follow the installation guide in its official repo on github.com.
2) Push obsidian to Git server
Create a vault on PC, and then set it as a git repo, then push it to my own Git server.
3) Pull obsidian on mobile phone
a. Install termux
Because I am using an android phone, so I install the termux app on my phone, which can be used as a terminal ssh tool to do git commands.
The termux can be found here
b. Configure git to connect server
Then I use the following command to create a git phone key , which can be used as identity for my android phone:
ssh-keygen -f obsidian-phone-key -t rsa
Then push this obsidian-phone-key private key to my phone:
adb push "./obsidian-phone-key" /sdcard/Download/
Then I move this file to my ssh directory:
mv obsidian-phone-key ~/.ssh
chmod 400 ~/.ssh/obsidian-phone-key
Now I have got the private git ssh key, I need to configure git ssh login credentials:
touch ~/.ssh/config
I created a git config file in ~/.ssh, in the file , I filled with the following content(If you copy this, please replace the content of <my-server-ip>, <my-server-git-port>, and <my-server-git-user>):
Host *
     HostKeyAlgorithms +ssh-rsa
     PubkeyAcceptedKeyTypes +ssh-rsa
Host myservergit
     HostName <my-server-ip>
     Port <my-server-git-port>
     User <my-server-git-user>
     IdentityFile ~/.ssh/obsidian-phone-key
     HostKeyAlgorithms = +ssh-rsa
     PubkeyAcceptedAlgorithms = +ssh-rsa
The explanation of the above file:
Host *- This line specifies that the following configurations apply to all hosts.
HostKeyAlgorithms +ssh-rsa- This line adds
ssh-rsato the list of accepted host key algorithms for all hosts.
- This line adds
PubkeyAcceptedKeyTypes +ssh-rsa- This line adds
ssh-rsato the list of accepted public key types for all hosts.
- This line adds
Host myservergit- This line specifies that the following configurations apply specifically to the host named
myservergit.
- This line specifies that the following configurations apply specifically to the host named
HostName <my-server-ip>- This line sets the hostname or IP address of
myservergitto<my-server-ip>.
- This line sets the hostname or IP address of
Port <my-server-git-port>- This line sets the port number for
myservergitto<my-server-git-port>.
- This line sets the port number for
User <my-server-git-user>- This line sets the username for
myservergitto<my-server-git-user>.
- This line sets the username for
IdentityFile ~/.ssh/obsidian-phone-key- This line specifies the private key file to use for authentication with
myservergit.
- This line specifies the private key file to use for authentication with
HostKeyAlgorithms = +ssh-rsa- This line sets the host key algorithms for
myservergitto includessh-rsa.
- This line sets the host key algorithms for
PubkeyAcceptedAlgorithms = +ssh-rsa- This line sets the accepted public key algorithms for
myservergitto includessh-rsa.
- This line sets the accepted public key algorithms for
Then I test the git clone and git pull command in the termux app:
git clone <my-server-git-user>@myservergit:/<my-obsidian-notes>.git
Attention:
- You should replace the
<my-server-git-user>and<my-obsidian-notes>with your real username and notes name. - The
myservergitmust be the same as the git config file defined above
Then I test to pull and push:
$ git pull
Already up to date

$ git push
Everything up-to-date
Everything works!
4) Push obsidian from mobile phone to PC
Now I create a new note in my phone’s obsidian:
001-PhoneNotes
I will insert any new idea or photo in this file , and I will:
- not edit it on my PC, only read this file on PC
- only edit it on my Phone, only write it on my Phone
The above two rules will keep this file clean and un-conflict between my devices.