others-how to do junit test in kotlin?
1. Purpose
In this post, I will demonstrate how to do unit testing in kotlin.
2. Solution
2.1 First step: add junit dependency or library to project
Add junit dependency to your project’s build.gradle:
testImplementation 'org.jetbrains.kotlin:kotlin-test'
The whole build.gradle content is:
plugins {
    id 'org.jetbrains.kotlin.jvm' version '1.6.21'
    id 'application'
}

group = 'org.example'
version = '1.0-SNAPSHOT'

repositories {
    mavenCentral()
}

dependencies {
    implementation group: 'com.google.code.gson', name: 'gson', version: '2.10'

    testImplementation 'org.jetbrains.kotlin:kotlin-test'
}

test {
    useJUnitPlatform()
}

compileKotlin {
    kotlinOptions.jvmTarget = '1.8'
}

compileTestKotlin {
    kotlinOptions.jvmTarget = '1.8'
}

application {
    mainClassName = 'MainKt'
}
Then you can view the dependencies in your project’s gradle view:
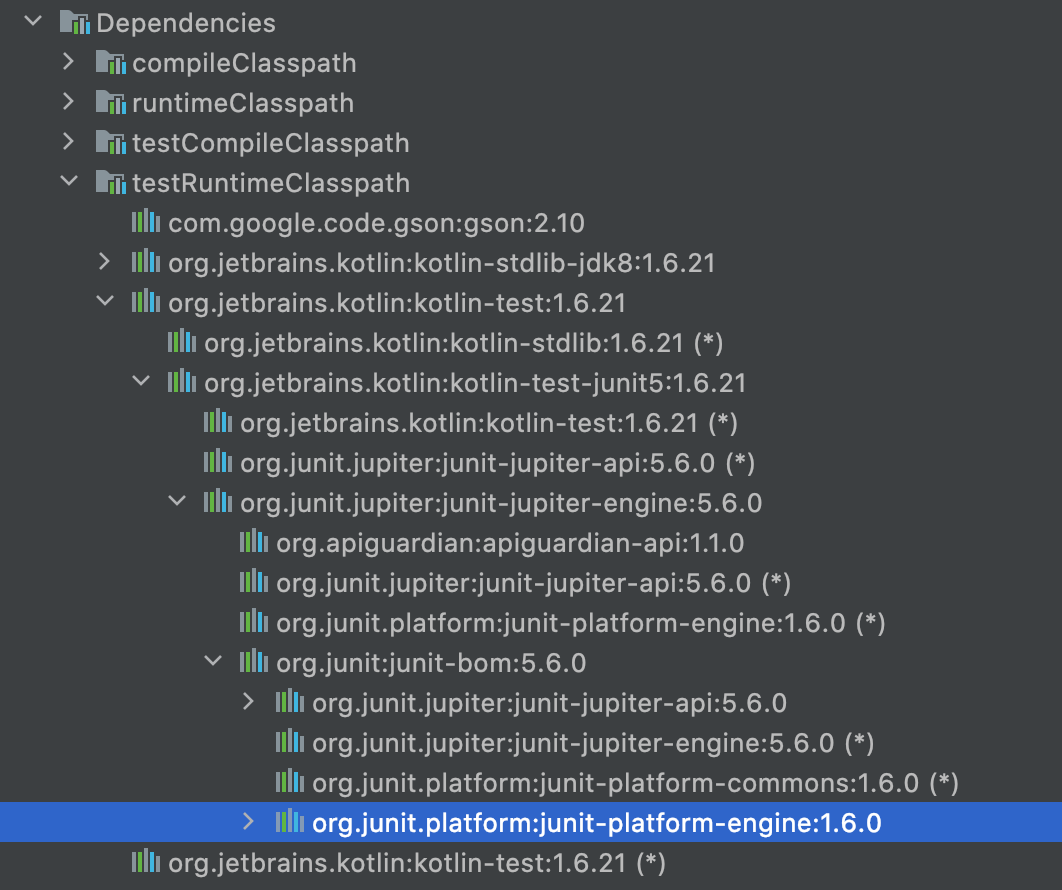 You can see the
 org.junit* dependencies in your tree.
+--- org.jetbrains.kotlin:kotlin-test:1.6.21
|    +--- org.jetbrains.kotlin:kotlin-stdlib:1.6.21 (*)
|    \--- org.jetbrains.kotlin:kotlin-test-junit5:1.6.21
|         +--- org.junit.jupiter:junit-jupiter-engine:5.6.0
|         |    +--- org.junit:junit-bom:5.6.0
|         |    |    +--- org.junit.jupiter:junit-jupiter-api:5.6.0 (c)
|         |    |    +--- org.junit.jupiter:junit-jupiter-engine:5.6.0 (c)
|         |    |    +--- org.junit.platform:junit-platform-commons:1.6.0 (c)
|         |    |    \--- org.junit.platform:junit-platform-engine:1.6.0 (c)
|         |    +--- org.apiguardian:apiguardian-api:1.1.0
|         |    +--- org.junit.platform:junit-platform-engine:1.6.0
|         |    |    +--- org.junit:junit-bom:5.6.0 (*)
|         |    |    +--- org.apiguardian:apiguardian-api:1.1.0
|         |    |    +--- org.opentest4j:opentest4j:1.2.0
|         |    |    \--- org.junit.platform:junit-platform-commons:1.6.0
|         |    |         +--- org.junit:junit-bom:5.6.0 (*)
|         |    |         \--- org.apiguardian:apiguardian-api:1.1.0
|         |    \--- org.junit.jupiter:junit-jupiter-api:5.6.0
|         |         +--- org.junit:junit-bom:5.6.0 (*)
|         |         +--- org.apiguardian:apiguardian-api:1.1.0
|         |         +--- org.opentest4j:opentest4j:1.2.0
|         |         \--- org.junit.platform:junit-platform-commons:1.6.0 (*)
|         +--- org.jetbrains.kotlin:kotlin-test:1.6.21 (*)
|         \--- org.junit.jupiter:junit-jupiter-api:5.6.0 (*)
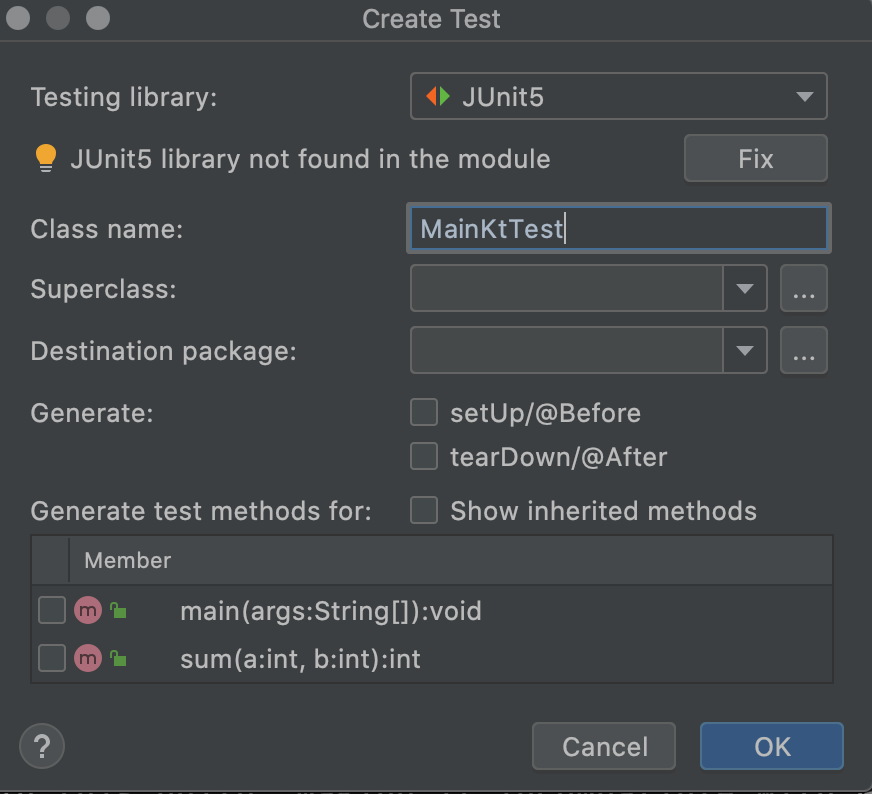
If you don’t want to add junit dependency via gradle, you can just add the junit library via the project settings in Intellij IDEA:
2.2 Second step: write unit test
First we need a file to test, we create a file named Main.kt in src/main/kotlin:
fun main(args: Array<String>) {
    println("Hello World!")
}

fun sum(a: Int, b: Int): Int {
    return a + b
}
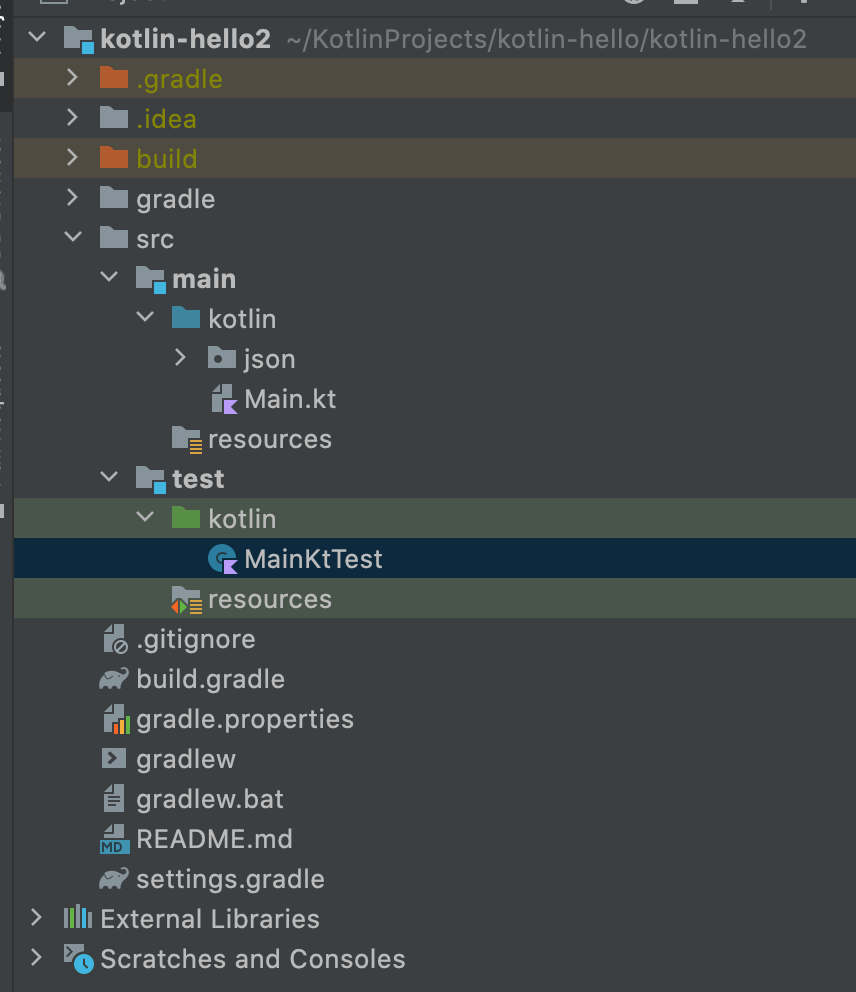
Then we create a test file MainKtTest.kt in src/main/test/kotlin directory:
Then you can write your first kotlin unit test as follows:
import org.junit.jupiter.api.Test

import org.junit.jupiter.api.Assertions.*

internal class MainKtTest {

    @Test
    fun sum() {
        val expected = 42
        assertEquals(expected, sum(40, 2))
    }
}
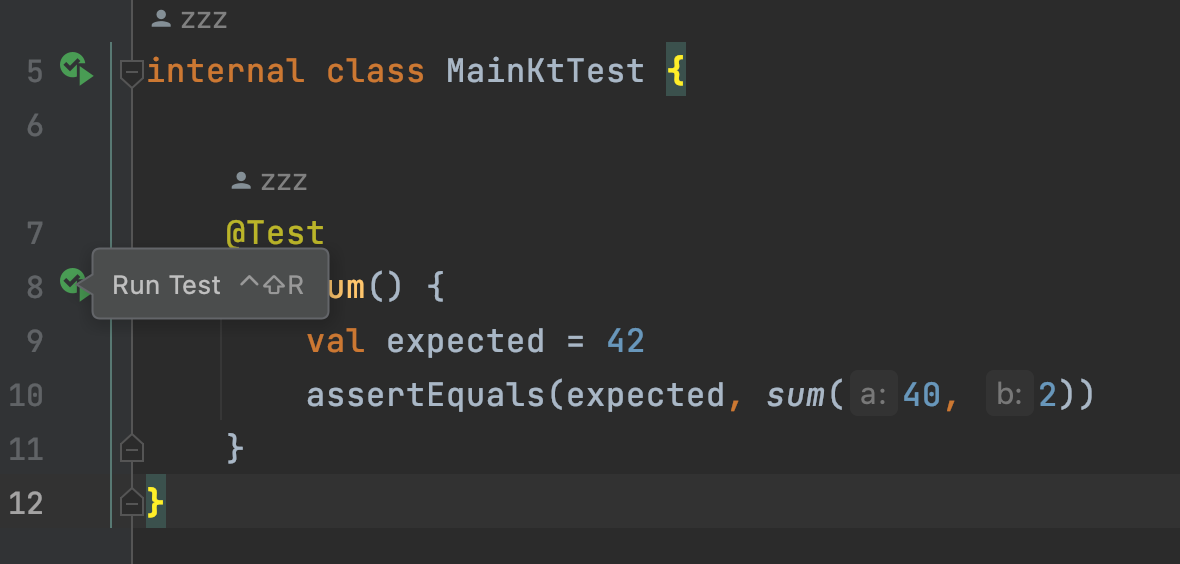
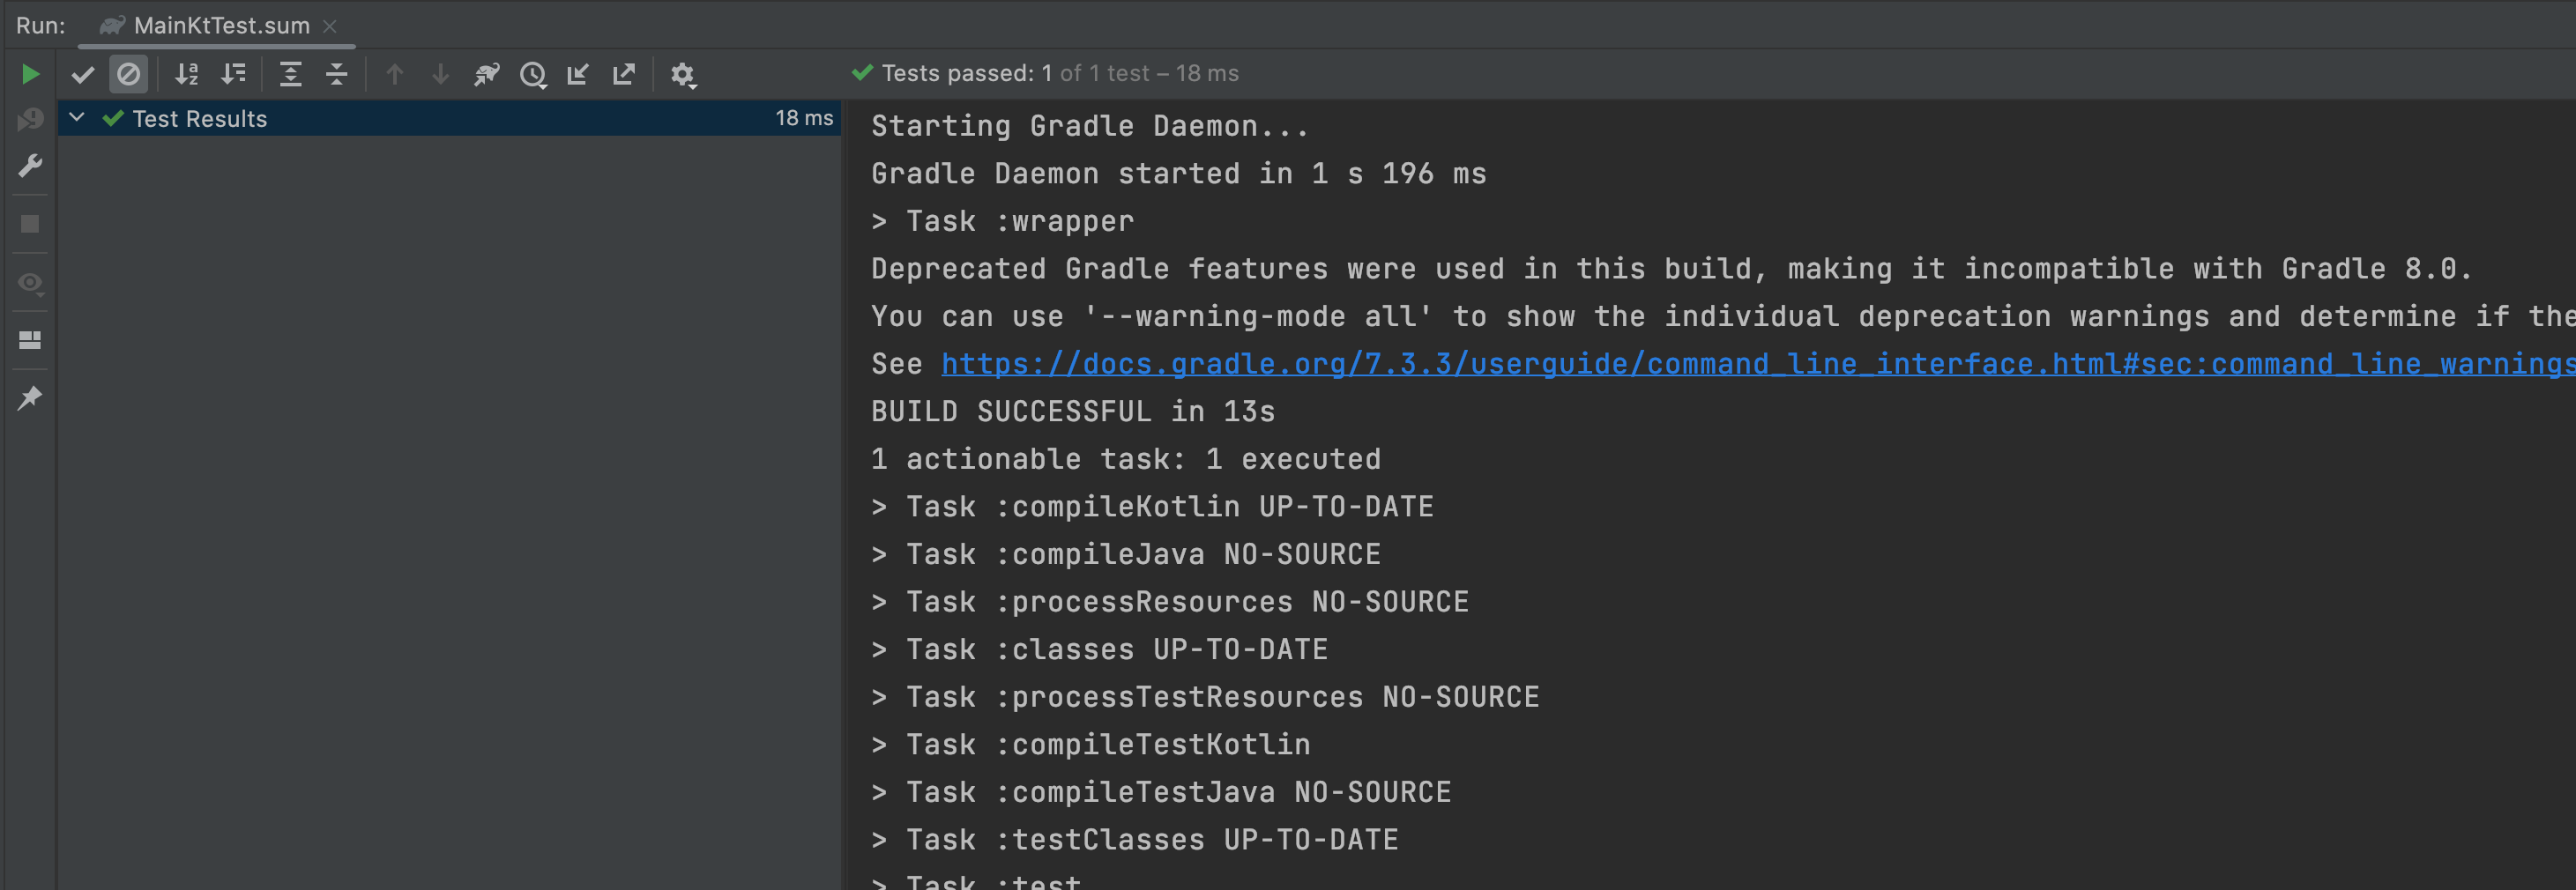
Then we can run test unit test,just click the little green arrow button in the left of the function:
 Then we got the test result:
3. Summary
In this post, I demonstrated how to do unit testing in kotlin. That’s it, thanks for your reading.