python-how to add waterwark to your image using python ?
1. Purpose
In this post, I would demo how to add watermark image to your image using python, the result is as follows:
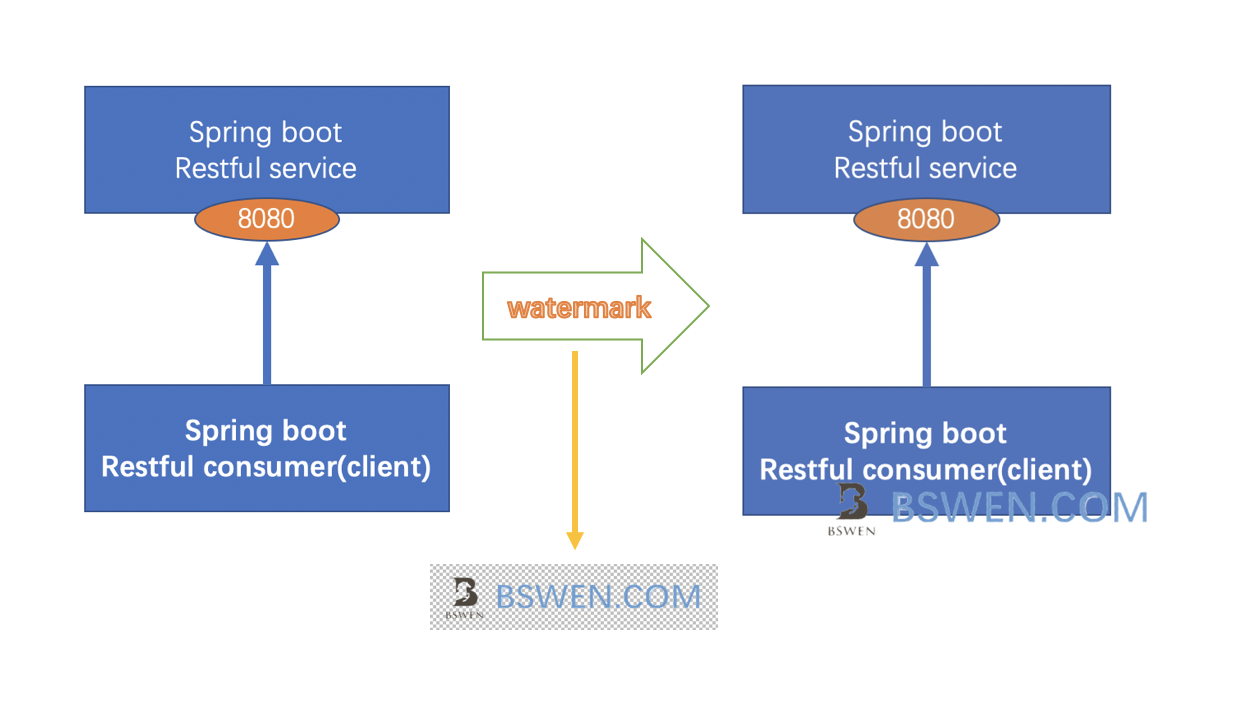
The left is the source image, the middle is the image that we want to use as a watermark, the right is the result image that has a watermark at the bottom-right of it.
2. The Environment
- Python 3
3. The code
3.1 The project directory structure
Our working directory name is myscript, this is the structure of it:
.
└── myscripts/
    ├── images/
    │   ├── image-20201120140146339.png
    │   └── logo.png
    ├── images_origin/
    │   └── readme.txt
    └── watermark_demo.py
Explain as follows:
- The images/image-xxx.png is a file that we would add watermark to
- The images/logo.png is the logo image that we would use as a watermark,it looks like as below, it should have a transparent background.
- The images_origin directory is the backup directory that we would backup the original image to it before adding watermark
- The
watermark_demo.pyis the file that do the magic

3.2 The watermark function
Here is the core function in watermark_demo.py:
from PIL import Image
import sys, os
from shutil import copyfile

ROOT_PATH = "."
SRC_PATH = os.path.join(ROOT_PATH,"images")

def watermark_with_transparency(image_name,
                                watermark_image_path):
    input_image = os.path.join(SRC_PATH,image_name)

    # 1. open source image with 'RGBA' mode
    base_image = Image.open(input_image).convert("RGBA")

    # 2. open watermark image with 'RGBA' mode
    watermark = Image.open(watermark_image_path).convert("RGBA")

    # 3. compute the position by the size of the images, position the watermark image at the bottom-right of the source image
    width, height = base_image.size
    mark_width, mark_height = watermark.size
    position = (width - mark_width, height - mark_height)

    # 4. create a new image
    watermarked_image = Image.new('RGBA', (width, height), (0, 0, 0, 0))

    # 5. do the paste operation,which would paste the watermark image on the source image
    # 5.1) first, paste the source image to the result image
    watermarked_image.paste(base_image, (0, 0))
    # 5.2) second, paste the watermark image to the result image at specified position
    watermarked_image.paste(watermark, position, mask=watermark)

    # 6. save the result image to disk, overwrite the source image
    watermarked_image.save(input_image)
    print("watermark done, the result is %s"%input_image)

    # 7.show the image
    watermarked_image.show(input_image)
The details of the code are documented on the code .
3.3 The main function
Now we should provide the user with a main function to start the program:
if __name__ == '__main__':
    if len(sys.argv) <= 1:
        print('python watermark_demo.py <the_image_name>')
        exit(1)
    the_image = sys.argv[1]
    if the_image is None or len(the_image) == 0:
        print('python watermark_demo.py <the_image_name>')
        exit(1)
    else:
        watermark_with_transparency(the_image, './images/logo.png')
3.4 Test the funtion
At last, we can test our watermark function as follows:
$ python watermark_demo.py image-20201120140146339.png
We get this:

It works!
5. Summary
In this post, we demonstrated how to use python to generate watermarked image. Thanks for your reading. Regards.