springboot-Quick guide to serve static HTML page and bootstrap from scratch with Spring Boot Web App
1. The purpose of this post
I would demo a quick guide to serve static HTML page and bootstrap from scratch with Spring Boot Web App.
2. Environments
- springboot 1.x or 2.x
- bootstrap 4.x
- java 1.8+
3. Create a simple maven project
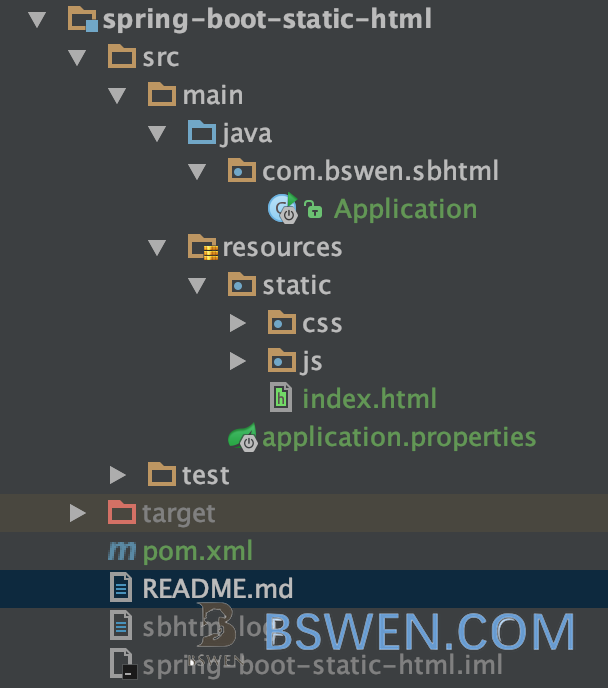
Create a simple maven project , its layout is as follows:
4. The pom.xml
<?xml version="1.0" encoding="UTF-8"?>
<project xmlns="http://maven.apache.org/POM/4.0.0"
         xmlns:xsi="http://www.w3.org/2001/XMLSchema-instance"
         xsi:schemaLocation="http://maven.apache.org/POM/4.0.0 http://maven.apache.org/xsd/maven-4.0.0.xsd">
    <modelVersion>4.0.0</modelVersion>

    <artifactId>spring-boot-static-html</artifactId>

    <dependencyManagement>
        <dependencies>
            <dependency>
                <!-- Import dependency management from Spring Boot -->
                <groupId>org.springframework.boot</groupId>
                <artifactId>spring-boot-dependencies</artifactId>
                <version>1.5.9.RELEASE</version>
                <type>pom</type>
                <scope>import</scope>
            </dependency>
        </dependencies>
    </dependencyManagement>

    <properties>
        <project.build.sourceEncoding>UTF-8</project.build.sourceEncoding>
        <java.version>1.8</java.version>
        <start-class>com.bswen.sbhtml.Application</start-class>
    </properties>

    <dependencies>
        <dependency>
            <groupId>org.springframework.boot</groupId>
            <artifactId>spring-boot-starter-web</artifactId>
        </dependency>
        <dependency>
            <groupId>org.springframework.boot</groupId>
            <artifactId>spring-boot-starter-tomcat</artifactId>
            <scope>provided</scope>
        </dependency>
    </dependencies>

    <build>
        <finalName>sbhtml</finalName>
        <plugins>
            <plugin>
                <groupId>org.springframework.boot</groupId>
                <artifactId>spring-boot-maven-plugin</artifactId>
                <executions>
                    <execution>
                        <goals>
                            <goal>repackage</goal>
                        </goals>
                        <configuration>
                            <classifier>exec</classifier>
                        </configuration>
                    </execution>
                </executions>
            </plugin>
            <plugin>
                <groupId>org.apache.maven.plugins</groupId>
                <artifactId>maven-war-plugin</artifactId>
                <version>3.0.0</version>
            </plugin>
        </plugins>
    </build>
</project>- Here we use springboot 1.5.9, you can use springboot 1.x or 2.x here
- We add the springboot starter spring-boot-starter-web , it provides the spring mvc ability to this project
- We add spring-boot-starter-tomcat to deploy and run in tomcat
- We set the finalName of the build, to be used as the war file name
- We use the maven-war-plugin to package the war file
5. The Main class of the springboot app
package com.bswen.sbhtml;

import org.springframework.boot.SpringApplication;
import org.springframework.boot.autoconfigure.SpringBootApplication;
import org.springframework.boot.builder.SpringApplicationBuilder;
import org.springframework.boot.web.support.SpringBootServletInitializer;

/**
 * main entry for this app.
 * @author bswen
 */
@SpringBootApplication
public class Application extends SpringBootServletInitializer {

    public static void main(String[] args) {
        SpringApplication.run(Application.class, args);
    }

    @Override
    protected SpringApplicationBuilder configure(SpringApplicationBuilder builder) {
        return builder.sources(Application.class);
    }
}
According to this document, the SpringBootServletInitializer and the configure method is used because:
The first step in producing a deployable war file is to provide a SpringBootServletInitializer subclass and override its configure method. Doing so makes use of Spring Framework’s Servlet 3.0 support and lets you configure your application when it is launched by the servlet container.
6. Install bootstrap
Download boostrap files from this site, and extract the css and js files to this project’s src/main/resources/static,just like this:
7. Develop an index html
Create a new file named index.html in src/main/resources/static/index.html
<!DOCTYPE html>
<html lang="en">
<head>
    <title>Bootstrap Example</title>
    <meta charset="utf-8">
    <meta name="viewport" content="width=device-width, initial-scale=1">
    <link rel="stylesheet" href="css/bootstrap.min.css">
    <script src="js/bootstrap.min.js"></script>
</head>
<body>

<div class="jumbotron text-center">
    <h1>My First Bootstrap Page</h1>
    <p>Resize this responsive page to see the effect!</p>
</div>

<div class="container">
    <div class="row">
        <div class="col-sm-4">
            <h3>Column 1</h3>
            <p>Lorem ipsum dolor sit amet, consectetur adipisicing elit...</p>
            <p>Ut enim ad minim veniam, quis nostrud exercitation ullamco laboris...</p>
        </div>
        <div class="col-sm-4">
            <h3>Column 2</h3>
            <p>Lorem ipsum dolor sit amet, consectetur adipisicing elit...</p>
            <p>Ut enim ad minim veniam, quis nostrud exercitation ullamco laboris...</p>
        </div>
        <div class="col-sm-4">
            <h3>Column 3</h3>
            <p>Lorem ipsum dolor sit amet, consectetur adipisicing elit...</p>
            <p>Ut enim ad minim veniam, quis nostrud exercitation ullamco laboris...</p>
        </div>
    </div>
</div>

</body>
</html>- mention the relative path of css and js files, just use them as js/xxx.js or css/xxx.css
8. Run the springboot app
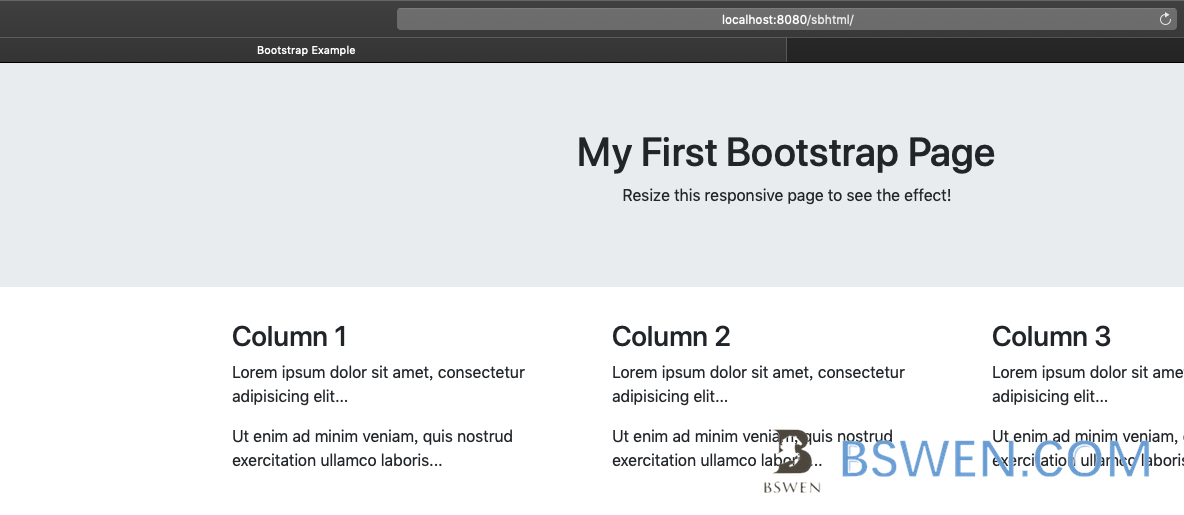
Run the app as follows:
mvn springboot:runwe get this:
9. Conclusion
You can download the code from github bswen-project, or reference these documents:
- Serve Static Resources with Spring from baeldung
- Serving static content in Spring Boot from zetcode
- Serving Static Web Content with Spring Boot from spring